Sunday 15 November 2015

Creating a laminated dashboard for your 2016 Shining Year Planner

H Readers, 
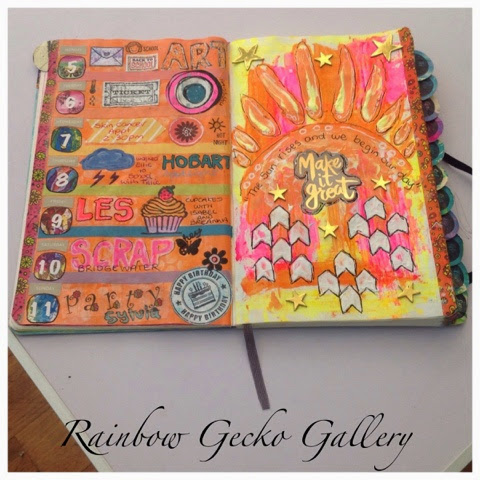
I was asked by the amazing LEONIE DAWSON to write a tutorial on how I used the To Do List notepaper to create a laminated dashboard, that fits into the 2016 Shining Year Planner. The dashboard  is removable and can be inserted anywhere throughout the planner so you can use it all year long. 

THINGS YOU WILL NEED
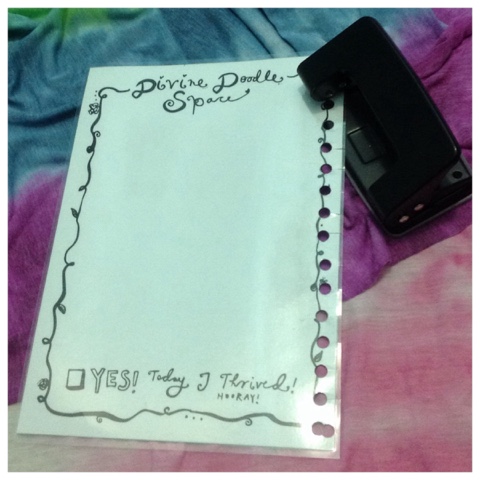
One To Do List Page 
A Laminating Machine ( I used a A4 size laminator) 
Laminating Pouches
A Hole Punch
Paper Cutter or Scissors
Binding Template (optional)
Pencil


STEP 1
Place to do list page into the laminating pouch and feed through your laminator. 


STEP 2 
Using a paper cutter or scissors, trim off the excees laminate leaving a small edge around the to do list page. 


STEP 3
Place your binding template over to do list page and mark holes with a pencil. ( I used an old folder cover) otherwise line up your laminated to do list page with the binding of the planner and place a pencil mark so you know where to punch your holes. 


STEP 4 
Carefully punch your holes in your laminated to do list page. Using your scissors cut from the egde of the page into the punched holes. This will allow you to easily insert and remove your laminated dashboard anywhere in your planner. 


NOTE : Before you trim your laminated dashboard (step 2) on the opposite edge to where you punched your binding holes, leave a tab at the top. The laminated dashboard can then become a bookmark for wherever you are in your 2016 SHINING PLANNER!!!!! 

Thanks so much for reading my post and to quote Leonie, "may 2016 be your most SHINING YEAR EVER"

If you havent already please check out Leonie Dawson's Shining Academy to find out more visit www.leoniedawson.com

Sarah
Rainbow Gecko Gallery

Wednesday 1 April 2015

WORDS OR WHATEVER TRIPLE TREAT COMPETITION ENTRY

Hi Readers, 
This month I entered into a competition for WOW. (Words or Whatever) 
I had to send a stamped, self addressed envelope to the company, I received some chipboard embellishments to create a project with and enter into the competition. These are the pieces I received.

Ii wanted to showcase the versatility of chipboard, and the many ways I use it in my Mixed media art. 
I carefully seperated all the chipboard pieces and started creating. 
The first part of my project was tracing around the backing piece of chipboard onto white cardstock to create some embellishments. I painted over them with acrylic paint, before cutting them and outlining them with black and white gel pens. 
The first product I made was an Artist Trading Card, I used paint and stencilling and glued my heart embellishments onto the card. 
My ATC

I glittered some of the embellishments and used stamps and markers, then using some cardmaking supplies created a greeting card and envelope
My Greeting Card and Envelope

I created a bookmark by using sprays and spraying through the chipboard pieces like a stencil and highlighting with a white gel pen. I also used the backing chipboard to make a charm for the bookmark out of modelling paste. 
My Bookmark

Using the background chipboard again I used modelling paste to create a textured heart Tag, I used permanent marker to colour the chipboard piece for the stamped sentiment. 
My Tag

I coloured a piece of chipboard with gel pastels and used a stamped sentiment with scrapbooking papers to create a Postcard.
My Postcard

I painted the "family" chipboard piece with acrylic paint and used paint pen for highlights to create dimension. I used some of the embellishments I made and scrapbooking papers to create a scrapbooking page. 
My Scrapbooking Page

I painted one of the heart chipboard pieces with acrylic paint and paint pen and added some jewellery finding to create a Necklace. 
My Necklace

I used glitter and liquid glass on the other piece of heart chipboard and created a magnet. 
My Heart Magnet

I used Puffy Paint to create a magnet with the "hastag" piece of chipboard.
The Hastag Magnet

As you can see chipboard pieces are a versatile embellishment that can be used in many different ways. I hope this has given you some ideas on how to use your chipboard pieces. 

Thank You
Sarah
Rainbow Gecko Gallery

You can find WOW here...
INSTAGRAM https://instagram.com/wow_wordsorwhatever/
PINTEREST https://www.pinterest.com/wowchip/
FACEBOOK https://www.facebook.com/wordsorwhatever


Saturday 31 January 2015

My Documented Life Project

Week 4 

I knew exactly what I wanted to do for this challenge, well as much as the dreamcatcher and quote. I had already gessoed my page so I painted a light rainbow with acrylic paint, I covered up the circle by placing a can over the top and painted another darker layer of rainbow. While I still had the tin there I put down the swirly background stencil and dabbed black paint through it. I used another stencil and black paint for the inside of the dreamcatcher. I painted the feathers with a dry brush of gesso and added the rainbow colours to them and around the circle of the dreamcatcher, then added my quote and I was finished. 
Thanks so much 
Sarah 
Rainbow Gecko Gallery

Monday 19 January 2015

My Documented Life Project

Week 3
I was unsure what I was going to do for this weeks prompt, the colour wheel. I love colour, rainbows in particular but struggled with doing another quote again. I used gesso and then watercolour crayons for the background and placed a stencil down and wiped with a baby wipe. I used a butterfly stencil and black acrylic paint. I was inspired by Terri Larue as she used paint samples, so I used them for the flowers and letter tiles. The quote says "colour me Rainbow" and my week three challenge page was complete. 

Friday 16 January 2015

My Documented Life Project

Hi Readers, 
This year I am participating in The Documented Life Project for 2015. Created by the A5 ladies you can find out more here https://arttothe5th.squarespace.com
There are weekly prompts and challenges along with a monthly theme this year. I have chosen to use a Moleskine weekly planner it was the planner of choice last year.

Here are my Week 1 pages.
Monthly Theme: the blank page and how to face it 
Art Challenge: book paper
Journal Prompt: be your own Goal keeper

Week 2 
Art Challenge: gesso
Journal Prompt: the beginning is always today 

I will continue to post pictures of my completed journal pages throughout the year 
Thanks 
Sarah :) 
Rainbow Gecko Gallery